Knowing where plants come from and how they grow is important if you want to grow strong, healthy plants.
Understanding seeds and bulbs will help you become a better gardener.
What’s in this guide?
First we will look at seeds and the different techniques for sowing them indoors and directly outside. We will also explore how to care for seedlings, plus the right ways to collect and store seeds from your plants.
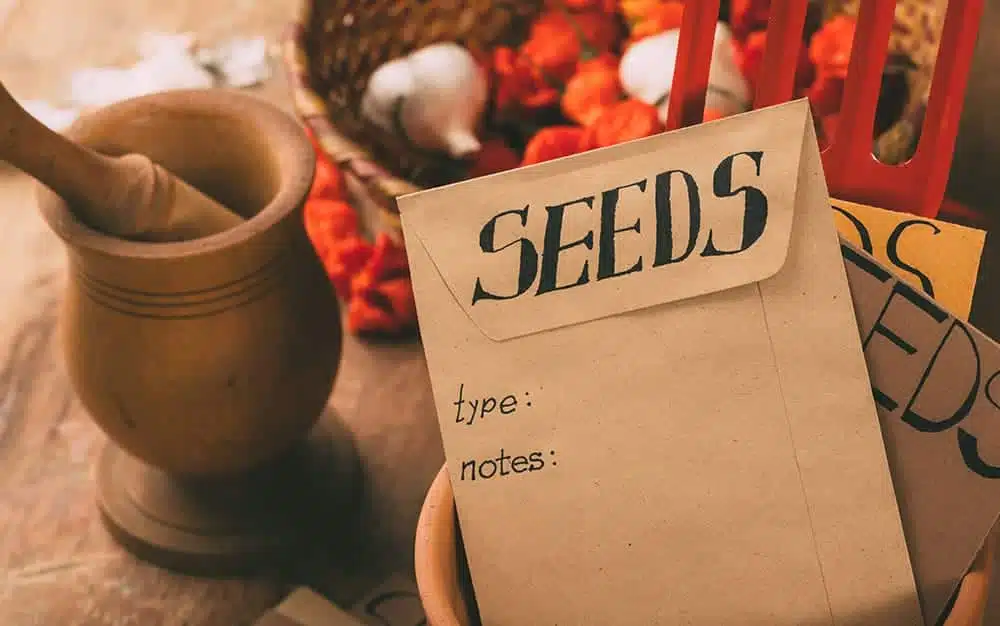
Seeds
Growing your own plants from seed is always exciting. Seeing them develop into new plants is very rewarding, and it’s a cost-effective way to add to your garden.
What are seeds?
A seed is the unit of reproduction for most plants. It contains all the genetic information needed to create an entirely new plant, plus a nutrient store to help it get started. So many types of plants can be grown from seed, from herbs and vegetables to annual and perennial flowering species.
Most seeds need warmth and moisture to germinate, but some need bright light or a cooler environment to get started. Others require soaking before sowing. There will be full instructions on the seed packet, but here I will show you a few general tips to help you get started.
Sowing outdoors
Some seeds can be sown directly into the ground where you want them to grow.
What to do
Before you start, it is important to prepare the soil. Break up clumps and remove any weeds or stones. Dig over the soil to a spade’s depth a few days before sowing. On the day, rake over the area to give it a smooth, crumb-like surface. This helps seeds germinate and grow strong roots.
How to sow seeds
The sowing method will depend on the seed type. Some, like wildflower seed mixes, should be scattered across the soil. Seeds for vegetable crops need to be sown in drills. Use a bamboo cane or the edge of a trowel to dig shallow trenches in lines. The depth and spacing of these will be written on the seed packet. Drop the seeds into the drills and use a rake to gently cover them with soil.

Now what?
Water in and mark where you have sown so you don’t plant something else there! Marking the ends of the drills also helps you spot weeds growing up between the rows sooner.
Make a seed bomb
If you want to sow a seed mixture, make a bomb. It’s a cluster of seeds in a ball of soil – throw it into any corner of the garden and let nature do the rest.
Mix five parts compost with three parts potter’s clay and one part seeds. Add water until it starts to stick together, then mould into golf balls. Leave in the sun for three hours until it sets solid, then throw to sow!
Sowing indoors
Many seeds are more successful if you start them off indoors in small pots or a seed tray.
What to do
- Buy special purpose seed compost for this and make sure it is firmed well down and lightly watered.
- Then use a pencil or dibber to make small holes, leaving plenty of space between them, and drop a seed into each hole.
- Gently cover the seed with a little compost and water in.
- For tiny seeds, just sprinkle them over the top of the compost in a seed tray.
- Gently cover them with another fine layer of compost and water well on a fine spray setting.
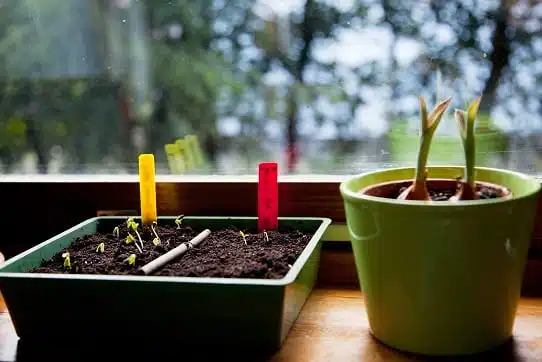
Now what?
Place the pots or seed tray in a suitable spot according to the instructions – it may be a sunny windowsill or a cool greenhouse. Some plants need the warmer environment of a heated propagator. It won’t be long before you’ll see the first tiny shoots poking through the compost.

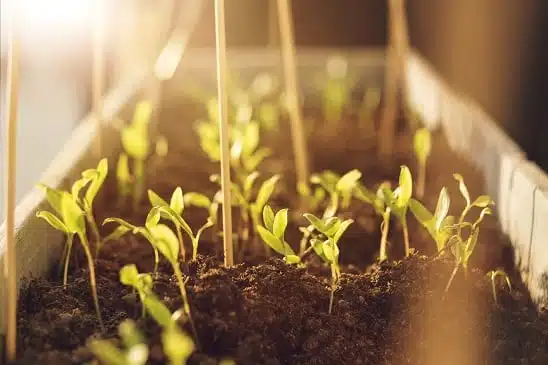
Seedlings
Thinning out
As the seedlings start to get bigger, the plants often end up growing too close together. In that case, pick the weakest ones out. This is known as thinning out and is necessary to give the strongest plants room to grow and succeed.
Details of final spacings are on the seed packet. Stick to this to give plants and roots enough space to spread out.
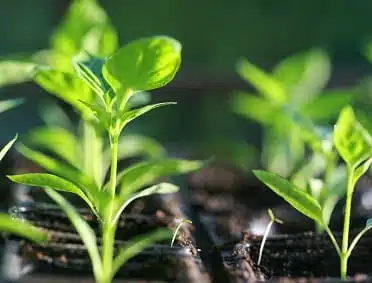
Pricking out
Once your seedlings have two or more sets of leaves, they will need more space to grow and should be moved into a new tray or pots, a process known as pricking out.
- Water the seedlings an hour or so before moving them to make it easier to separate the roots from the soil.
- Prepare the new pots with compost and, as before when sowing the seeds, make a small hole in the compost.
- Drop the roots into the new hole and gently firm in the compost, taking extra care around the stem.
- Water in and place the seedlings in a well-lit spot, ensuring they are protected from frost.
Problems
Many people find that their seedlings all lean to one side of the tray – this is because they grow towards the sunlight. Rotate the seed tray every few days to stop this happening.
- Or build a DIY reflector – cut apart a cereal box and fold a panel to make a three-sided stand.
- Cover it in aluminium foil and stand around the seed tray. The sides should be at 45 degree angles.
Acclimatisation
- As they increase in size, the small plants will need moving into a larger pot.
- Then they can be gradually acclimatised to outdoor conditions.
- Do this by moving the pot outside during the day and bringing it back in at night.
- When all risk of frost has passed, you can transplant your plants into the garden.
TIP: Always handle seedlings by the leaves and not the stem, which is very fragile. If you damage a leaf, a new one will grow. If you damage the stem, the plant will die.
Seed Gathering
Make the most of nature’s bounty by collecting the seeds plants offer up for free!
You can harvest seeds from your own garden, or even local streets and the wild. Collect seeds from trees, shrubs, annuals, perennials and biennials, plus herbs and ornamental grasses.
- The most important thing is to collect seeds when they are ripe.
- There is no set time – the plant will give them up when it is ready.
TIP: Seed heads will often change colour, from green to brown, red or black.
The seeds themselves may also change colour. They will go from green or white to a brown or black colour, indicating that they are ready. Flower heads will start to fall apart when the seeds are ripe.
You need to catch the seeds after they have ripened, but before they disperse. Keep checking on them daily. Most seeds ripen some two months after the plant first
flowers.
TIP: Don’t deadhead the flowers of plants you want to harvest seeds from.
Types of seeds
Seeds can come in many forms, which will dictate how you collect them.
- Berries (cotoneaster)
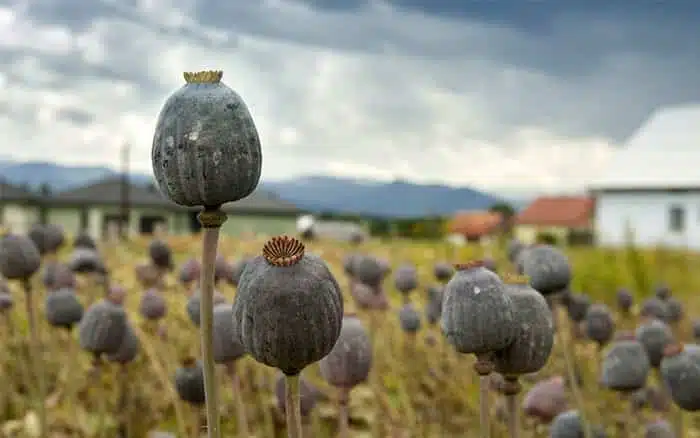
- Capsules (poppy)
- Catkins (birch)
- Exploding seedheads (euphorbia)
- Nuts (hazel)
- Pods (sweet peas)
- Winged seed (sycamore)
Collecting seeds
Here’s my failsafe way to collect seeds. You will need plenty of plastic freezer bags, which keep the seeds dry and uncontaminated.
Choose a dry day. Place the bag over the pod or flower head to make sure the seeds don’t fall all over the ground, and cut it into the bag. Collect as many as possible. Take the bags indoors and gently tip them out over some spread out newspaper.
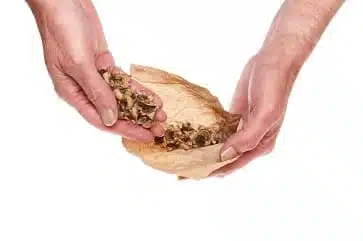
The plants should release the seeds, but if not you can gently break open seedheads or shake the seeds out.
Berries should be put in a fine sieve and mashed. Wash away the pulp with cold water and leave the seeds to dry for a few days.

Now what?
If there is surrounding material (chaff) on any of your seeds, make sure to clean it off. Chaff can harbour diseases and lead to damping off and unviable seeds.
Storage
Some seeds, such as hellebore, should be sown immediately after collection. But most can be stored until spring.
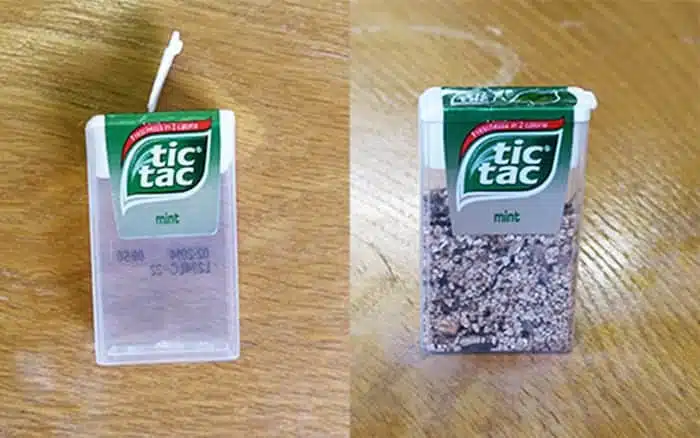
Store seeds in a dry, airtight container. Paper bags are a good option, but I use old Tic Tac boxes. They are small, handy and sealable.
Make sure to label all your containers so you know what’s in them! You can also add a dehumidifier like Silica gel to stop seeds deteriorating. Then store in a
cool place – a fridge is ideal.
Many seeds will last for years in a dry environment at around 5C.
Remember, seeds from hybrid plants will be very variable, so it’s best to take them from ‘true’ plants.
TIP: Mix your seeds into wallpaper paste and use a cake icing tool to sow them. This means they’ll be surrounded by moisture, giving them a good head start.
David Domoney is a Chartered Horticulturalist, Broadcaster, and Author. David has worked with a number of the UK’s leading garden retailers as a plant buyer and strategic consultant. With more than 30 years experience, in horticulture, David is as passionate about plants now as he was when he bought his first plant at a village fete.


Hi David — Getting bee’s this spring and was wondering what you would suggest for bee friendly Perennials. They will be planted in approx. 3/4s of an acre. some direct,some semi shade. your advise is well appreciated. Have a great day.
Jim C.
Hi Jim,
Thanks for getting in touch. There are loads of great perennials to attract bees into the garden! Check out my blog on bee-friendly gardening tips, plus my blog on the top 10 bee-friendly plants.
For your garden, I would suggest planting Lavender, Buddleja davidii (Butterfly bush), Mahonia, Allium schoenoprasum (chives), roses and cosmos. I hope this helps!
Thank you for your fantastic dwarf bean seeds. They are so easy to grow and produce a bumper crop. It is very encouraging for a novice veggie grower.
Bought a packet of your cucumber seeds at a cost of £3.60 from local Homebase as had a great success with couple of plants I bought for £1 last year. Have followed the instructions on the packet to the letter however have only had two sickly looking seeds so understandably I am extremely cross as I feel these seeds have been a complete waste of money.
Hi Lyn, Sorry to hear about this.
Please contact Mr Fothergill’s customer services department directly. They can organise replacement seeds (there’s still plenty of time to grow cucumbers). Cucumbers are usually very reliable germinators, given enough heat. A minimum level of heat at night is often the issue, particularly in unheated greenhouses where they can be slow and suffer from over watering.
https://www.mr-fothergills.co.uk/Home/Customer-Help/Contact-Us.html#.Xp7wJNNKiuU
Very interesting