Yesterday we looked at using the F Words as a guide to garden design, and how to revamp your flooring.
Now let’s look at fencing!
Fencing
Think of your fence like garden wallpaper – make it stylish enough and it can carry a room.
Now have a look at your current garden fencing. Does it do anything for you? The good news is that it’s easy to change. You can get a new fence, or simply give yours a new look.
Replace it
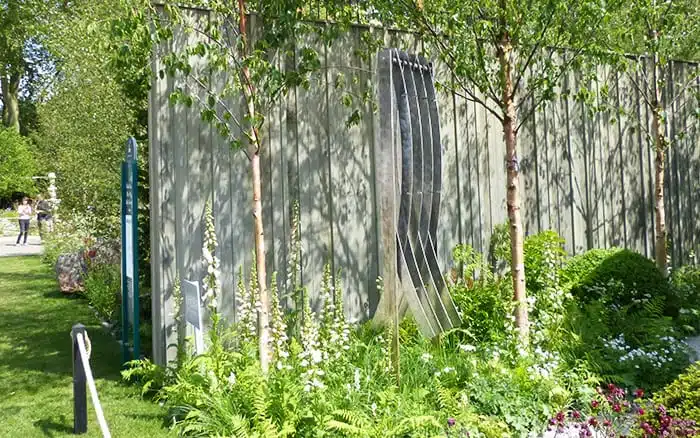
If your fence is damaged or rotten, or you just really hate it, rip it out and start again. This will cost you, so do your research first. Find out what type of wood and finish you want, and take the height into account.
Go for something high with extra trellis panels on top if you want more privacy, or try something lower and lighter if you don’t want to plunge your garden into shade.
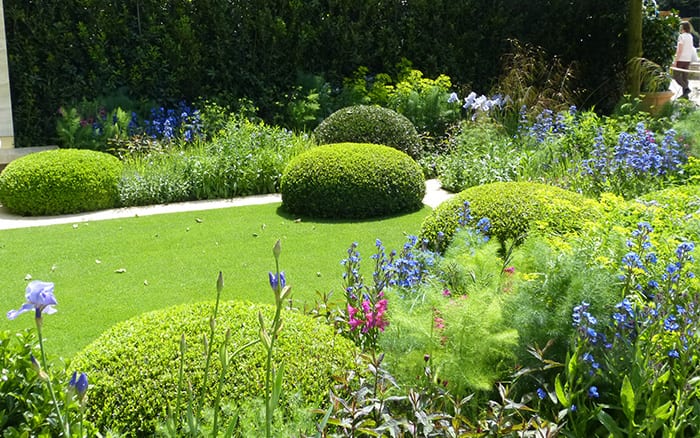
Cover it
This is cheaper than replacing the fence, and looks fantastic. You can buy natural screen covering on a roll, and attach it to the surface of your fence to give your garden a facelift. There are plenty of options to choose from: natural willow, heather, bamboo and many more.
Simply attach it to the fence with a nail gun, or use a hammer and ‘U’ clips. You can cover up your existing fence in an afternoon, and it gives a stunning finish.
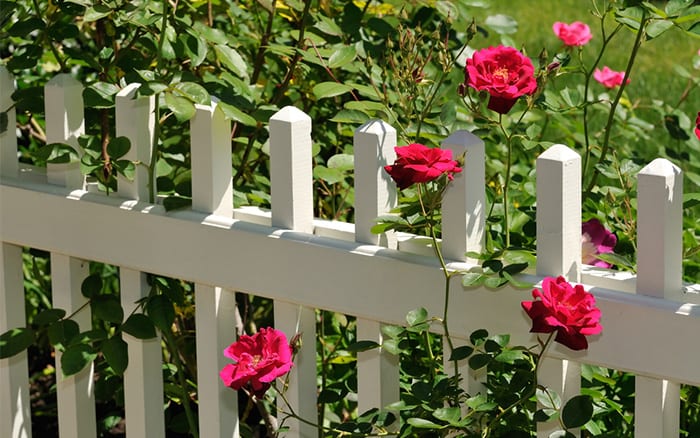
Stain it
The easiest way to change the appearance of your fence is with a tub of stain. The best colours are natural – I had a vivid metallic purple one at a Chelsea Flower Show garden once, but we had five days of problems matching the plants to it!
In my own garden the fences have a wood-coloured stain. It works with all plants and gives the garden a natural, earthy feel. Green, so keep it simple by keeping it natural.
Fence treatments

painting-fence
Treating your fence every few years will protect the timber from being damaged by water and frost. If you don’t want to change its colour, choose a clear wood preservative instead.
Step 1 – choose your treatment
Most modern fence treatments contain water-repellent waxes and resins to protect the timber from the British weather, but you can use a special wood preserver as an undercoat for added protection.
Step 2 – choose the day
Pick a calm, dry day with plenty of cloud. Hot sunshine will dry the treatment too quickly, and windy weather will blow leaves and debris onto your wet fence!
Step 3 – prepare the fence
Clean away any dirt, cobwebs and bird mess with a stiff brush and some warm water. Sand any areas with splinters and refasten any loose boards. Give it a final wipe down with a damp cloth.
Step 4 – apply the treatment
You can use a brush or a spray system. It’s worth splashing out on a sprayer if you have a lot of fence panels. If you’re using a brush, save time (and elbow grease) by using a small roller to cover the face of the panels.
Stain one fence panel at a time, working from top to bottom. Make sure you cover the top end of the panel and the posts, which is where rainwater sits.
Apply the treatment following the grain of the wood, remembering to brush back to ensure an even application. Leave to try as per the pack instructions.
Read the entire F Words garden design series


David Domoney is a Chartered Horticulturalist, Broadcaster, and Author. David has worked with a number of the UK’s leading garden retailers as a plant buyer and strategic consultant. With more than 30 years experience, in horticulture, David is as passionate about plants now as he was when he bought his first plant at a village fete.


Leave A Comment