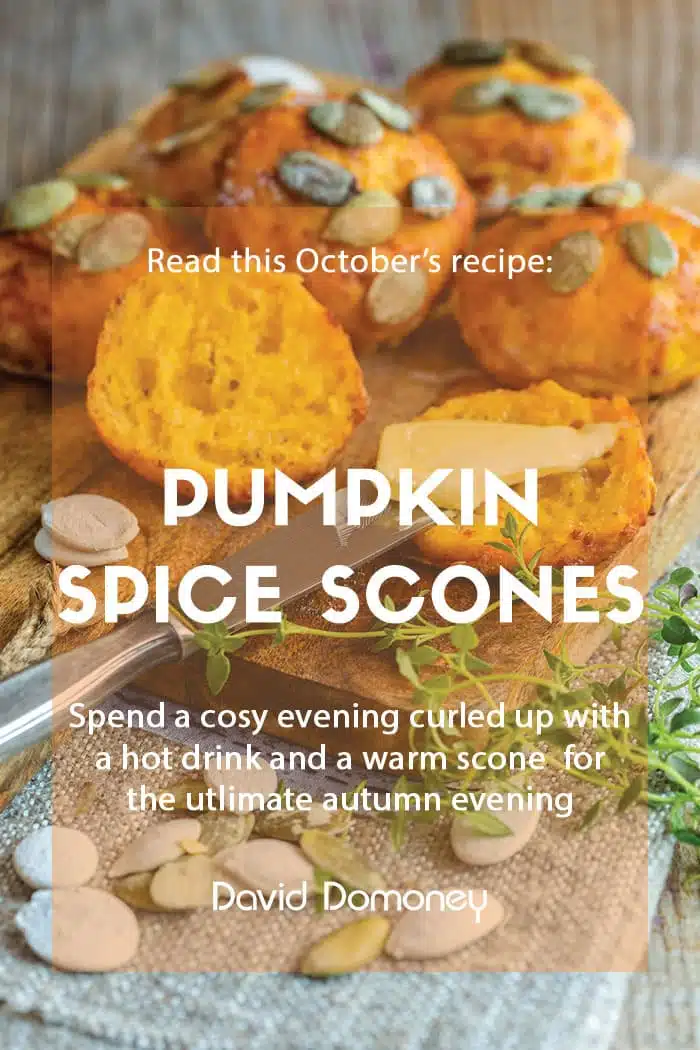
Spooky season is upon us, and pumpkins are ready to be harvested and are popping up in supermarkets. Whether you’ve grown your own squashes or are opting for shop-bought, here are some creative pumpkin carving templates to make your Halloween display a
spook-tacular one.
Pumpkin carving templates
You will need:
- A pumpkin
- A sharp knife for carving
- Sticky tape
- Scissors
- Tracing paper (optional)
- A4 paper to print the stencil

There are a few ways to transfer the pattern from the stencil onto your pumpkin.
Either stick the A4 paper straight onto the pumpkin and use a carving knife to cut through the paper and the pumpkin skin to make the markings, then you can remove the paper and finish cutting out the relevant parts.
Alternatively, cut out all of the components and stick them to the pumpkin so you can decide exactly where you want each part to be so it perfectly fits your pumpkin.
Another way to do it is trace the pattern onto baking paper and use that to trace the stencil directly onto pumpkin.
Using the stencils
Print out the stencils onto A4 paper, then carve out the black sections. For thin lines, pierce the skin but don’t carve all the way through. This will allow the light from the candle to shine through, having a spooky effect.
Once you’ve used the stencils on your pumpkin, enter them into my pumpkin carving competition!
Once you’ve carved your pumpkins, enter them into my pumpkin carving competition where I have some great prizes up for grabs to take you into the festive season.
These easy-to-use stencils will have your Halloween display looking suitably spooky in no time. I’d love to see your pumpkin carving results, so send me your photos on Facebook, Twitter, and Instagram.


David Domoney is a Chartered Horticulturalist, Broadcaster, and Author. David has worked with a number of the UK’s leading garden retailers as a plant buyer and strategic consultant. With more than 30 years experience, in horticulture, David is as passionate about plants now as he was when he bought his first plant at a village fete.
Leave A Comment