DIY crafts and interior design are increasing in popularity. Growing cut flowers for use indoors in cut flower bouquets and dried flower arrangements. Another way to preserve the beauty of the garden is by pressing flowers. Here’s my guide on pressed flower crafting…
History of flower pressing
Flower pressing has a long history and there are many stories of their uses across the world. Back in the 16th Century in Japan, there was a practice called Oshibana, which is an art that uses pressed flowers and other natural elements. With an increase in trade between Japan and Western countries, people were seeing these forms of art more, and flower pressing became a hobby in the UK and US in the mid-1800s.
During the Victorian period, gardens were designed with hollyhocks, sweet peas, hyacinths, and irises. Not only this, but houseplants boomed in popularity, with Aspidistra elatior (cast iron plant) and Howea forsteriana (kentia palm) taking a stand in parlours and living rooms.
This was also the time where botany was also an intrinsic part of art and fashion, and this continues today. In this period, pressing flowers was a popular pastime for women, as these records of flowers were kept as a scrapbook, or to remember a special occasion.
They also have the added practicality of being important as a record of botanical history. Collections of flowers were used by botanists, professionals, and travellers to identify, and spread knowledge on plants.

How do I do it?
Between books
One simple method to try by pressing between books. You’ll need a book, some parchment paper or newspaper, flowers, and some heavier books to press down on top.
When choosing a book to press in, choose one that you don’t mind getting damaged. This is because when pressing, it can cause moisture to come out of the flowers which can cause the pages to wrinkle, or any harder parts of the flowers can lead to dents.
Flower press
If you’re looking to press flowers without using any of your books at home, you can get hold of a press that is made up of boards and bolts to keep them together. They may differ depending on the specific one you have. But they generally involve unscrewing the boards, placing parchment or baking paper on the inside surface and positioning the flowers or foliage on top. Then, place another piece of paper on top and secure the top board. They can be left to press down for a few weeks before reopening and checking on them.
Using an iron
This is a method to speed up the process if you need the flowers quickly for a project. You’ll need flowers, parchment paper, a book, and an iron.
Get started by laying parchment paper with the flowers, topped by another piece of paper. Then, place a book on top to flatten them so they’re easier to iron.
Turn the iron on to a low heat, and once the iron has heated up, the book can be removed and the paper and flowers can be transferred to the ironing board. Use the iron to gently, press down on the paper for 15 seconds. After 15 seconds, remove the heat and allow the paper to cool. Continue doing this until the flower has dried.

Top plants to choose
You can try your hand at pressing any flowers, although flowers that have a more two dimensional-like structure such as daisies are fit for use. If you have flowers from a wedding bouquet that you want to keep for sentimental reasons, or were gifted a plant for a loved one and you want to preserve the flowers.
A top for pressing flowers that are a bit bigger or awkwardly shaped can be taken apart, then pressed, and stuck back together or positioned afterward.
If you’re choosing from any flowers to press, try to go for ones that have distinctive flowers. Pansies and orchids work well with their recognisable blooms.
Now you know how, you can get crafting by pressing flowers from your garden or gifted flower bouquets. It’ll allow you to keep track of the flowers grown in your garden, or to form a scrapbook of important days through the beauty of flowers.
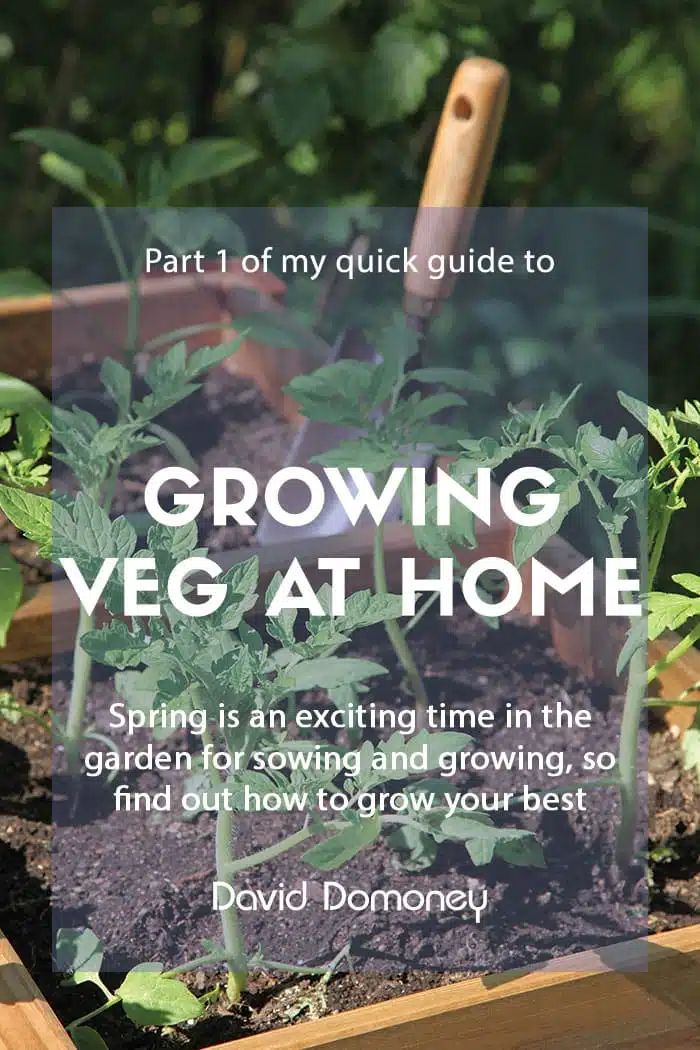
Find out more about growing veg at home:
Or check out my Pinterest board for more ideas:


David Domoney is a Chartered Horticulturalist, Broadcaster, and Author. David has worked with a number of the UK’s leading garden retailers as a plant buyer and strategic consultant. With more than 30 years experience, in horticulture, David is as passionate about plants now as he was when he bought his first plant at a village fete.


Leave A Comment