Approaching another growing season, you may find yourself clearing space on your windowsills or in the greenhouse to germinate seedlings ready to plant out, hoping for big harvests later in the year. Rather than buying new seed pots, make the most of the resources at your fingertips with these tips on how to make homemade pots with waste cardboard, newspaper, and other household items.
Why do it?
Not only is this a cheaper way of doing things, but it can benefit the plants because it means the roots aren’t disturbed when planted out. This is because the whole thing can be planted in the soil where it will break down and decompose. It will rot naturally and allow the roots more room to grow as needed.
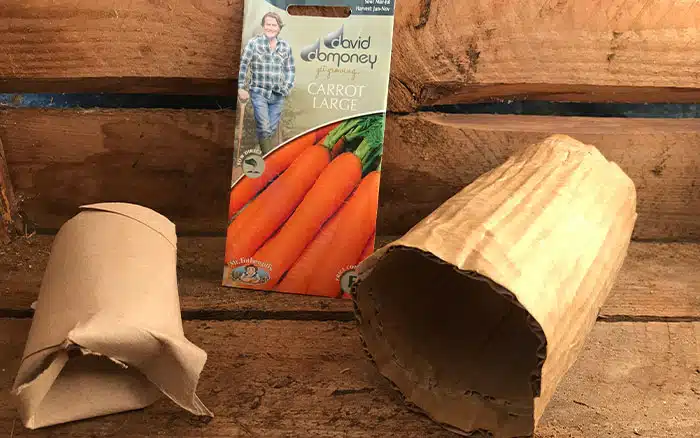
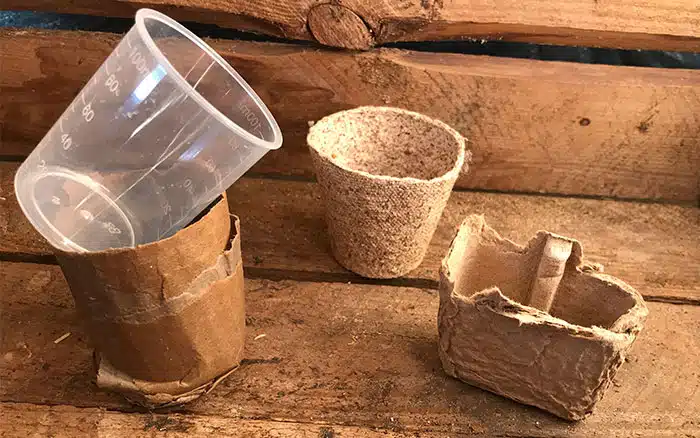
One of my favourite recycling tips is using household cardboard, like toilet roll tubes as a container for growing seeds such as carrots. You can do this easily by cutting the bottom of the toilet roll cardboard and folding it inwards. This will create a base to hold the soil.
You can also do the same with kitchen roll tubes. They are a bit longer, so just cut them in half and repeat the folding method at one end of the tube.
Using Cardboard
Create crafty containers using boxes that you’ve accumulated from any deliveries. This method also means you may have to get a bit creative…
The big thing to remember with any kind of container growing is drainage holes. You’ll need to pierce holes in the base of the container to ensure water isn’t sat stagnant at the bottom. This is especially important if you’re lining the box with plastic as the water won’t have anywhere to run.
Due to the cardboard material of these planters, you may think they’ll get soggy with the water but the porous materials mean it can dry out quickly.
Making Cardboard Pots
This method of using a cardboard box allows you to plant the seedlings straight into the ground when they are ready. The cardboard will fully break down and decompose. Now as the seedlings grow and as you water them, the box will lose structural integrity.
Cardboard will be able to give you a slightly firmer finish than the newspaper method.
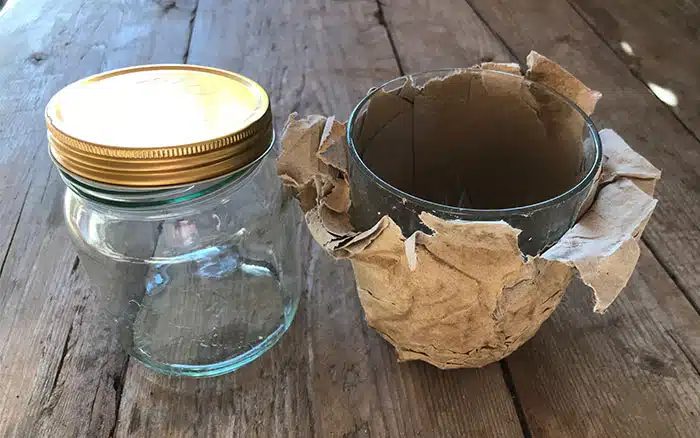
- Get hold of pieces of cardboard and saturate them with water. This will make them malleable and flexible enough to mould around a glass and achieve the desired shape.
- Once you have moulded the cardboard around the glass, leave it to dry before removing the glass and hey presto you’ll have the desired shape.
- Keep the containers in a dry, warm spot and they’ll dry nice and quickly, ready to be sown.
Don’t let the cardboard dry completely, as it will be very hard to remove from your mould. Allow it to dry enough to hold its shape, otherwise it will get stuck.
A top tip is to use a tumbler for some homemade pots, and a longer glass for some others. These are perfect for longer rooted plants like sweet peas, broad beans, and sunflowers.
Newspaper
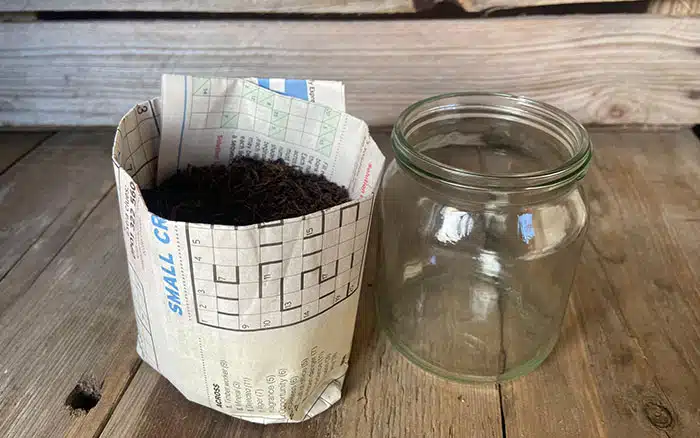
For this kind of shaped seed plant pot, you can use newspaper instead of toilet roll tubes. All you’ll need is one sheet of a standard newspaper per pot and a small glass tumbler from the kitchen to use as the structure to wrap the paper around.
- Place a sheet of newspaper on a flat surface and fold the long side of the newspaper in, about a third of the way. From the other side, fold the other long side inwards so they overlap slightly in the middle.
- Lie the glass down at the edge of the paper, leaving space for the newspaper at the top to be folded over. Then, roll the glass so the newspaper is completely wrapped around the glass.
- The next step is to fold the excess newspaper at the top of the glass. Try to pleat it round, then turn the piece upside down to remove the glass from the newspaper.
- Reach into the newspaper and fold down the flaps of paper at the end of the tube to form the base. You can solidify the base by placing the glass back into the tube so the bottom of the glass presses against the table.
- If the base keeps opening, keep the glass in with the closed side against the bottom of your pot, turn it upside down and press the folding against the bottom of the glass. Have a little play with the pleating until it feels secure.
There you have it, a perfect little plant pot to sow seeds in. It’s slightly less sturdy than the cardboard pots, but much quicker and less messy.

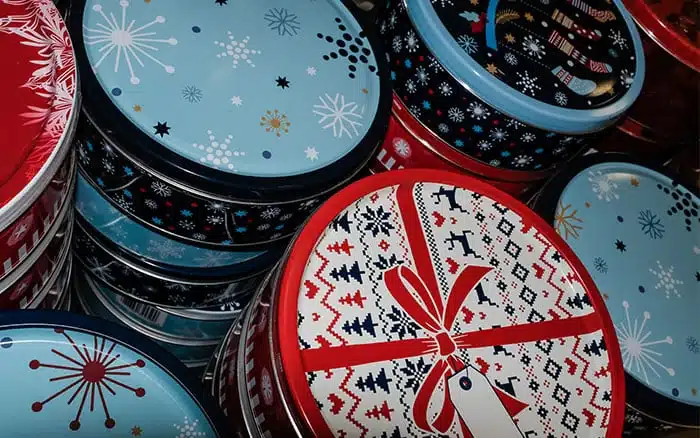
Biscuit Tins or Chocolate Tubs
Another top tip is to keep hold of the inserts from biscuit tins or chocolate tubs. Both are sturdy, either made from metal or plastic, so although you can plant them into the ground, you can use them year after year. Again, you’ll need to make drainage holes in the bottom and sand off any sharp edges to avoid hurting yourself.
This is just one of many ways to make the most of resources you have lying around at home. These homemade pots will save you time, money, and are great for the environment.
Find out more about growing veg at home:
Or check out my Pinterest board for more ideas:


David Domoney is a Chartered Horticulturalist, Broadcaster, and Author. David has worked with a number of the UK’s leading garden retailers as a plant buyer and strategic consultant. With more than 30 years experience, in horticulture, David is as passionate about plants now as he was when he bought his first plant at a village fete.


Leave A Comment