Nothing cheers up a porch, garage, or patio like a hanging basket. They are great for bringing flowers to walls, windows, and doorways – and will make bees and butterflies happy.
Types to choose
You can buy beautiful ready-made baskets but creating your own is easy. It’s a great project for the kids to get involved with too.
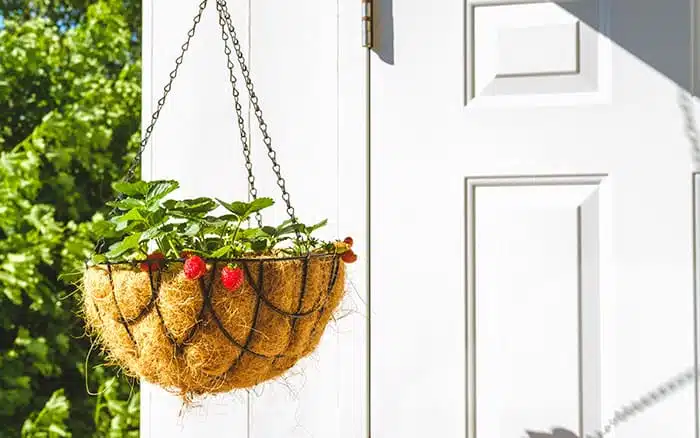
There are two basic types of basket: the type with solid sides – basically a pot with a chain – and traditional wire baskets.
Personally, I prefer the latter. Use moss to line them, then train trailing plants over the sides for a spectacular effect.
The secret is to get the biggest possible basket or container. The bigger it is, the more soil it will hold, meaning more moisture and nutrients.
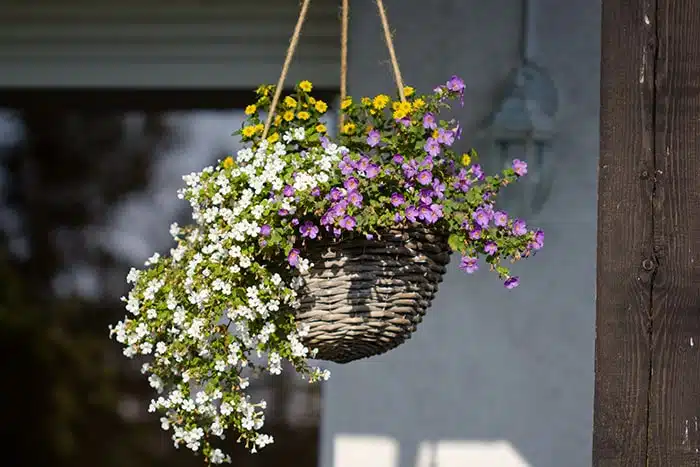
If you choose too small a basket, you will spend all your time watering it – and those plants will get very thirsty in summer. Check for drainage, too. If water can’t drain away, soil will become waterlogged. Some containers, such as wicker ones, come pre-lined with plastic.
Punch a few holes in the bottom of the lining so water can escape.
Plastic tubs usually have drainage holes drilled in the bottom but it’s worth putting crocks in, too. This is a layer of gravel or broken pottery to stop compost blocking the drainage holes.
Rounded baskets will roll about when you’re preparing them, so balance it in the top of a bucket or plant pot to keep it still while you’re potting up.
Informal options
Add compost to your basket until it is three-quarters full. Don’t overfill – leave space for your plants’ root balls.
When the basket is finished, there should be a 2cm gap between the top of the basket and the compost level. If it is too full, water will run down the sides, soaking you rather than your plants.
To be extra clever, help plants by adding hydration crystals to compost.

These are little jelly-like crystals that store moisture and release it when soil gets dry. Or put a water slice in the bottom before your compost goes in. It is a polymer that, when soaked with water, becomes a saucer sized gel that stores excess moisture.
To give your plants some extra moisture, use this handy trick using a water bottle.
Now for the really fun part – choosing the plants. You can create whatever theme you want, from a romantic display and a burst of cheery colour to something more subtle and elegant.
I like to pick three types of plants – one upright central plant, trailing plants for the outside and fillers to make the basket look really busy.
Plant me pretty
Classic centre plants include fuchsias or geraniums. A typical trailer is ivy, which adds evergreen colour.
Try lobelia, helichrysum, or trailing geraniums for colour. If you’re feeling adventurous, trailing strawberry plants or tomatoes are stunning – with the bonus of fruit. Be as creative as you like.
I once saw a cone-shaped basket planted with all white lobelias topped off by one or two bright red ones, so it looked like a raspberry ripple ice cream as it grew.
Good fillers include busy Lizzies or Begonia semperflorens, which will add extra volume. If that’s too many plants, choose one bulky trailing plant such as Petunia ‘Surfinia’, which will run down the sides and underneath. Bed the plants in together as one solid group and they will grow outwards.
Once your basket is planted, water it well.
The compost may sink down and leave a gap – if so, add a bit more. Then hang in full sunlight. Water with liquid fertiliser throughout their growing season – baskets lose more nutrients through leaching.
Deadhead to stop plants wasting energy and to encourage new blooms. There are also some clever gadgets to help make watering easy. I’ve seen pulley systems that will lower them but a simple wand or lance on the end of your hose will do the job just as well.
So prepare to plant up your hanging baskets this spring for a display that is sure to fill you with joy.

David Domoney is a Chartered Horticulturalist, Broadcaster, and Author. David has worked with a number of the UK’s leading garden retailers as a plant buyer and strategic consultant. With more than 30 years experience, in horticulture, David is as passionate about plants now as he was when he bought his first plant at a village fete.


Leave A Comment