There are few things worse than checking on your recently transplanted seedlings and finding that they have been destroyed by the weather or local wildlife. Why not try and use your old plastic bottles to keep them safe?
If you want to see me making my own miniature plastic bottle greenhouse, watch this video. In this video, I tell you how to protect your pea plants, but you can use this tip for many other seedlings.
How to make a miniature greenhouse
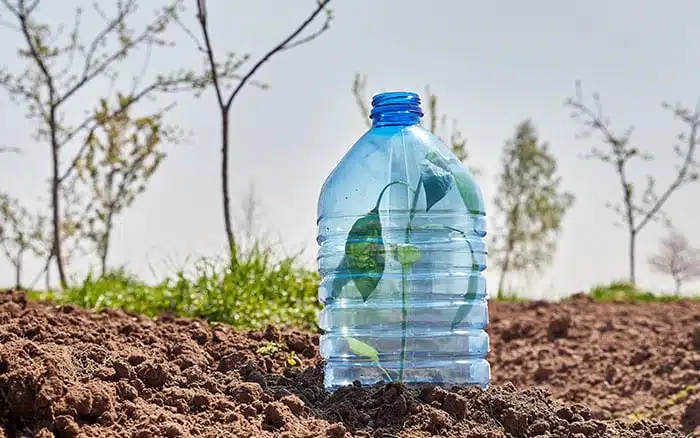
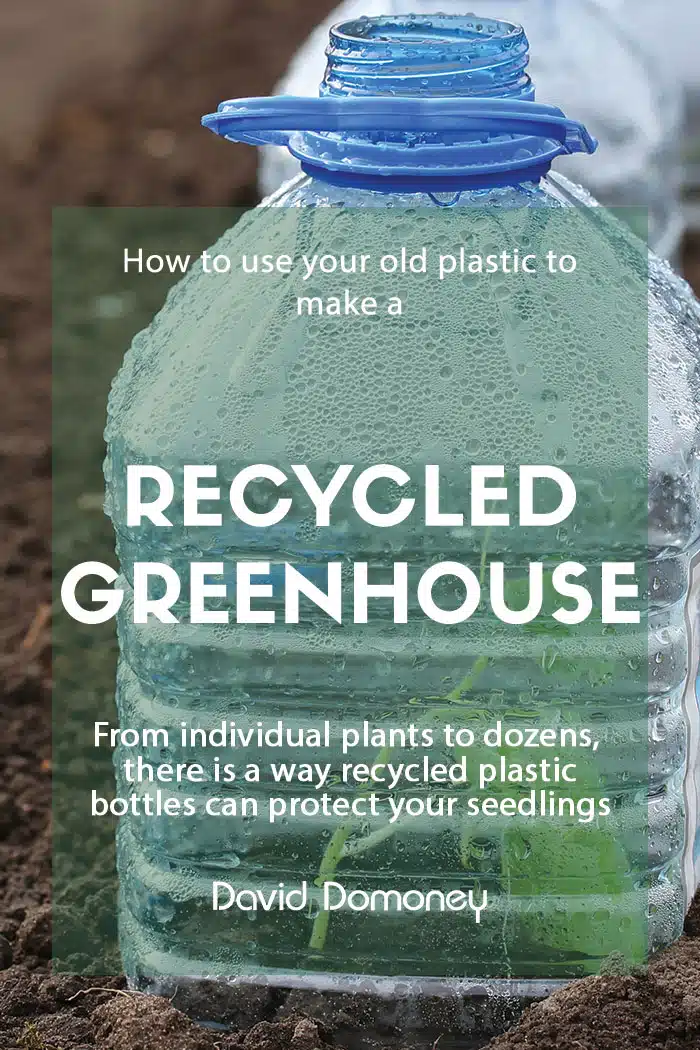
A great way to protect your vulnerable seedlings that have recently been transplanted outside is to make a miniature greenhouse out of your old plastic bottles.
This will protect your transplanted seedlings from unpredictable weather and wildlife that might choose to eat your young plants.
First, you should take the label off a clear plastic bottle.
Secondly, cut the bottom off with some scissors, and then place the top part over your plant. Push it a couple of centimetres into the ground so that it doesn’t blow away or get knocked over.
If you know the temperature is going to be quite hot on any day, you can take off the bottle lid to let hot air escape from your miniature greenhouse. Otherwise, your seedlings could get scorched because of the building temperature.
Should the temperature drop, you can mount some mulch or compost around the outside of the bottle. This will provide additional insulation and protection from frost.
Smaller, individual drink bottles are great for small individual plants. Larger 5-litre-sized bottles are good if you have small clusters of seedlings and want to cover them together.
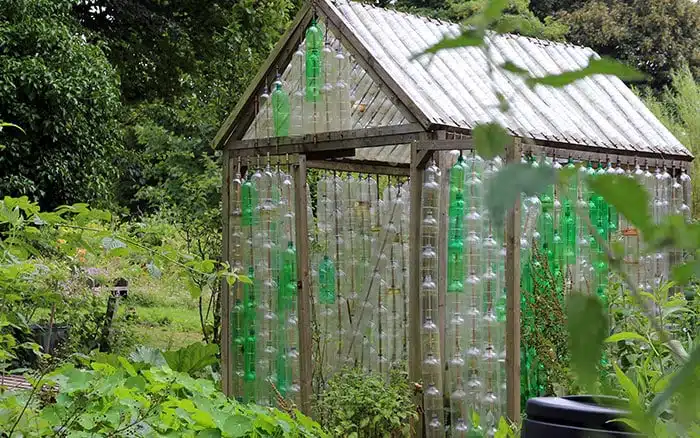
How to make a plastic bottle greenhouse
This project is a little bit more extreme and requires some patience. In order to make your own full-sized bottle greenhouse, you’re going to need hundreds, potentially thousands of plastic bottles. Preferably, these should be clear, but green ones also work. Start collecting as early as you can, and perhaps recruit some friends, family, or neighbours to donate their own finished plastic bottles.
It will be easier to use 5-litre bottles, but if you want to fill some gaps between your rows of bottles, smaller ones can also be used.
Wash your bottles and remove any labels. If you don’t remove the labels it isn’t going to negatively impact your greenhouse, but it makes it look a little tidier.
Next, cut the bottoms off of each bottle. Also, you won’t need the lids, so dispose of them responsibly or keep them aside for another project.
Then you should plan out the size of your greenhouse. The size will obviously impact how many bottles you need, so consider this and how quickly you want to be able to complete your greenhouse.
Making the greenhouse
Fix four wooden posts into the ground to become your corners. Most bottle greenhouses use wooden frames, but if you have some other materials that you can recycle rather than buying new ones, that will make your greenhouse even ‘greener’!
Then build the frames for three of your walls. This will consist of one short one and both long walls.
You should then make a frame measured for your roof also.
Thread your bottomless bottles onto garden stakes or canes, and then secure these with nails to your frames for your three walls and roof.
Secure your panels together either using the posts or corner brackets.
It is optional if you want to make a door. If you do so, use some hinges and a similar frame within which to fit your bottle canes.
This whole process will take time, but it is an original, eco-friendly, and affordable way to build a greenhouse to use at home!
Making a greenhouse big or small from plastic will save you money and time, as you can ensure your seedlings can survive even the most chaotic of conditions.
If you want to find out more ways to recycle plastic in your garden, see the following blogs:
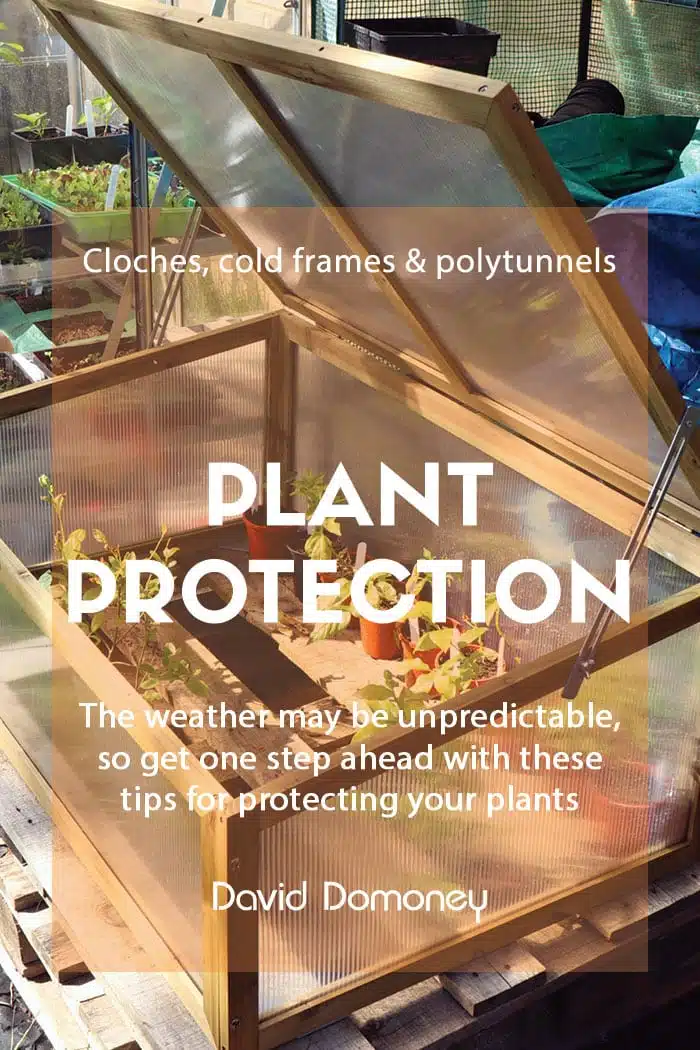
Find out more about protecting your vulnerable plants:
Or check out my Pinterest board for more ideas:


David Domoney is a Chartered Horticulturalist, Broadcaster, and Author. David has worked with a number of the UK’s leading garden retailers as a plant buyer and strategic consultant. With more than 30 years experience, in horticulture, David is as passionate about plants now as he was when he bought his first plant at a village fete.


Leave A Comment