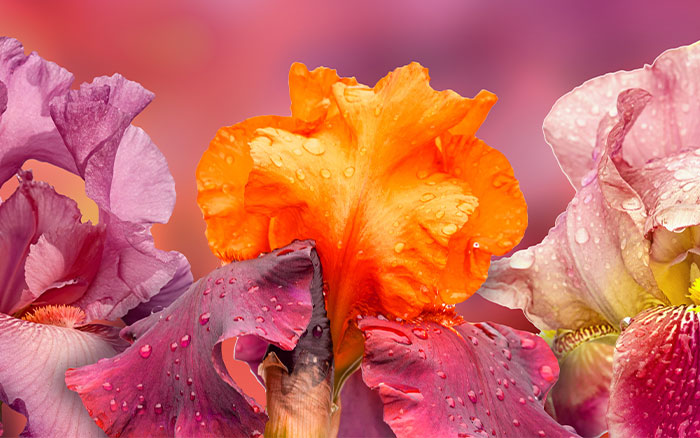
Many of you may have gone to or watched the coverage of this year’s R.H.S. Chelsea Flower Show. And if you did, you probably fell in love with the bearded irises displayed on some of the exhibits!
I love bearded irises, so it was wonderful to enjoy their beauty at the show.
Some of them were specifically bred to work perfectly in the display designs.
The muted and pastel shades shown created a wonderful sight to enjoy.
Bearded irises have some of the most colourful and flamboyant flowers of many perennials and always make a ‘look at me’ statement when planted in a garden.

Given the right conditions, I find that they are very easy to grow.
Give them extremely well-drained, non-acid soil and plant them in a sunny spot. However, if you don’t have that type of soil, try growing them in raised beds filled with sand or very free draining soil as they don’t need feeding!
Traditionally irises are planted six weeks after they’ve flowered, so from July onwards. I try to avoid planting over winter as the root (known as the rhizome) may rot sitting in wet, cold soil.

They can also be planted in spring but they’re unlikely to flower that year so it’s best to plant them during the summer months.
To keep bearded irises flowering well each year, their rhizomes should be exposed to the sun and not crowded out by other plants.
So planting them at the edge of a border or giving them their own planting bed is ideal.
They can be grown with other perennials that don’t grow over the iris’s rhizome.
Bearded irises also need to be divided from time to time.
Why do you need to divide bearded irises?
Bearded irises increase by sending out new rhizomes, which spread outwards as they grow, creating a fan shape.
Also, the old original rhizome remains without withering and fading away but stops flowering.
Eventually the spreading clump will contain so many old rhizomes that the plant as a whole will stop flowering.
Also, dividing the clump and removing the old rhizomes, rejuvenates the plant, kick starting it into flowering again.

How do you divide bearded irises?
I find that this is best done during the summer months.
First, dig up the clump, shake off the soil and snap off any rhizome that has green leaves top and put them to one side as they are the plants that will grow and flower.

Discard the old central rhizome from which you snapped off the newer rhizomes as this won’t flower again.
Then trim the roots of the remaining rhizomes and cut the leaves down to approximately the length of your hand.
Finally, you can cut the leaves either straight across or at an angle, according to your preference.
Trimming the roots makes it easier to plant, (remembering to keep the rhizome on top of the soil not buried). And additionally, I find that reducing the length of the leaves helps prevent the rhizome becoming loose in high winds.
By dividing your bearded irises this month, you will be able to enjoy these wonderful flowers for years to come.

Leave A Comment