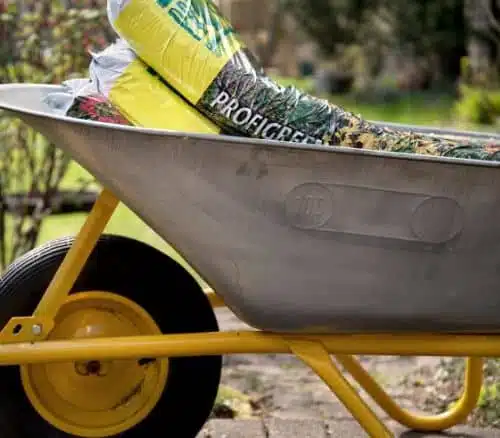
You don’t need a farm, or even a vast garden, to grow your own fruit and veg… rip open a growbag and you’ll soon be able to pick your fave.
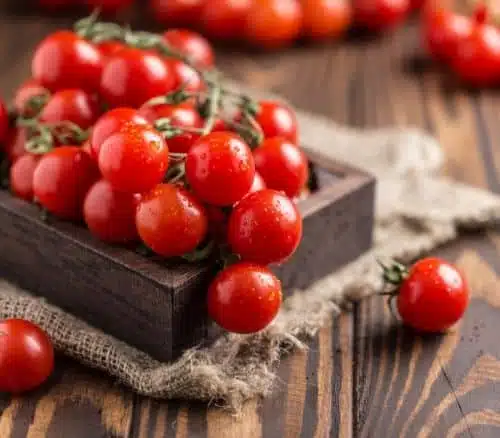
When they were introduced in the Seventies, growbags were a revolution. They were designed to be used under glass as an alternative to planting directly into greenhouse soil. This was largely because people who grew tomatoes were fed up with having to replace their soil every few years to avoid the build-up of root pests and disease.
Low cost
Growbags were cheap, gave great crops, avoided soil-borne diseases and also provided flexibility because you could move them around and use space more effectively. It’s no wonder they became so popular. They are still superb choices for greenhouse growing, but these days they are used just as commonly in sunny spots outdoors by gardeners up and down the country.
They are also a dream for those who don’t have much space and want to take advantage of a patio, path, or even an apartment balcony. There are so many plants you can choose for your growbags, but they must be plants with shallow root structures.


Grow your own
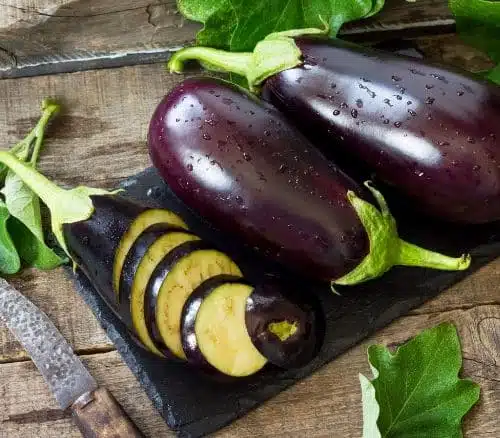
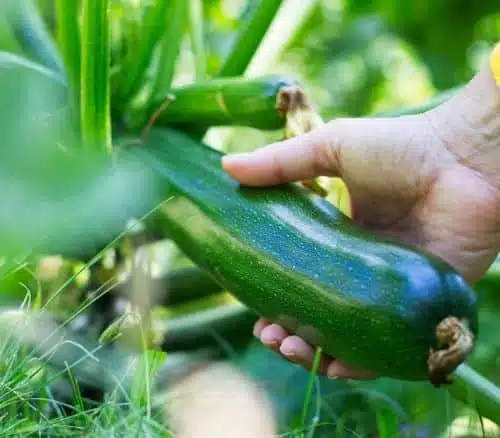
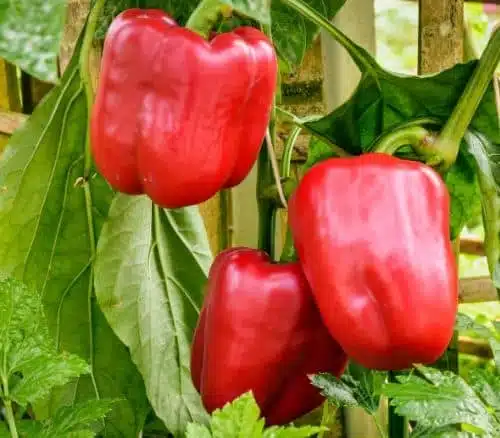
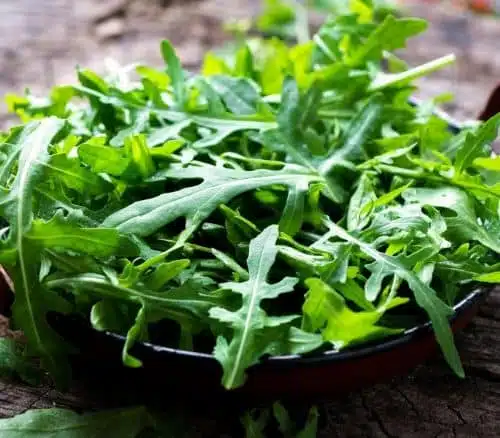
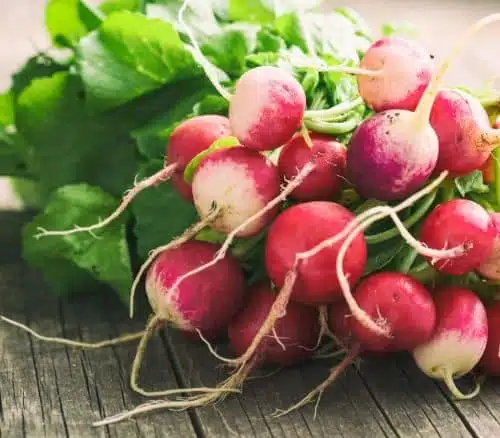
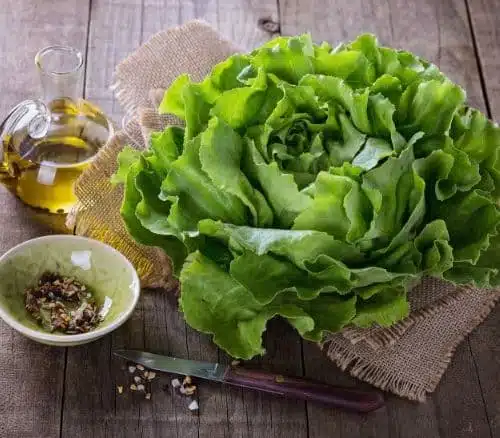
Tomatoes, cucumbers, sweet peppers, chilli peppers, aubergines and courgettes are all very popular choices. Salad crops such as lettuce, spinach and rocket work well too. You can even grow short-root crops such as radishes, baby beetroot and spring onions.
One of my favourite uses is to create an entire herb garden in one growbag and pop it right outside the kitchen door where you can reach it when cooking. Before planting in your growbag there are a few things to do. Loosen up the compost inside by treating it like a pillow that needs fluffing. Shake it and knead it until it feels loose and even. Next, pierce the bottom of the bag several times for drainage.
Drainage
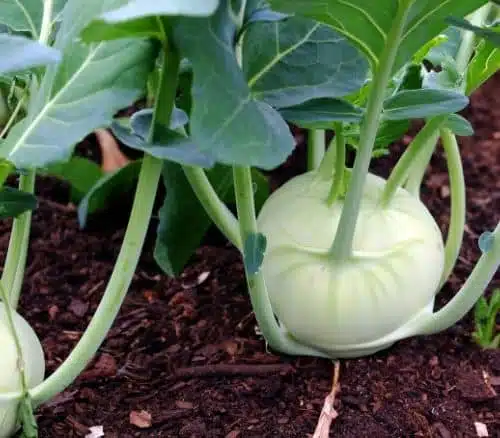
The compost in grow bags is designed to cope well without drainage, but that is a dangerous game if you are using them outside where you can’t control the rain. Some crops such as courgettes, kohlrabi, lettuce and rocket will do well with very wet compost, but for most crops I’d advise adding drainage.
Growbags often have three pre-marked squares on top for you to cut out but if you are planting salad or herb crops you will just want to cut one long rectangle. Taller, top-heavy crops like tomatoes will need to be staked in to ensure they don’t topple over in strong winds. If needed, you can buy support frames that sit over the top of growbags to attach the stakes to.
Alternatives
If you really hate the look of the plastic bag, you can even buy attractive growbag covers these days. Or save a few quid by using a bit of hessian cloth to cover them. Remember, there is only a limited source of nutrients in one bag, so most crops will need regular top-ups of fertiliser. A general-purpose fertiliser or a liquid tomato feed work great for most things.
I hate wastage, so there are a few things I do to get the most out of my grow bags. If you are growing larger crops in your bags, you often have time for a quick salad crop in the same bag after you have harvested your main plants, provided you add some liquid fertiliser.
When you have truly finished with a bag, you can either add the soil to your compost heap, apply it as a mulch or soil conditioner in your borders, or even sprinkle it over your lawn as a top dressing. Growbags were created for a simple and singular purpose, but their uses in the garden are now manifold. And, as with many things in the garden, with some creative thinking we can ensure we get the most out of our resources.
So, get out there and do some great growbag growing.
David Domoney is a Chartered Horticulturalist, Broadcaster, and Author. David has worked with a number of the UK’s leading garden retailers as a plant buyer and strategic consultant. With more than 30 years experience, in horticulture, David is as passionate about plants now as he was when he bought his first plant at a village fete.


Leave A Comment