There are so many tools and containers that you can make with waste plastic at home. Save yourself some money, and look at these suggestions for your gardening equipment.
How to make a recycled garden scoop
An easy and affordable way to make a scoop for your garden is by using a bottle that already has a handle. A perfect example is a milk bottle! By using these, you can have scoops of all shapes and sizes.
Also, you could use some small milk bottles to make a garden scoop for your children and get them involved in some garden work!
On your milk bottle, mark out a diagonal line along both sides, so that the top of the line comes to about an inch above the handle.
Join these diagonal lines up and cut along them to make your scoop.
This is a great tool for getting your children involved, as the scoop is nice and light. And you can make sure that it has smooth edges so there is no risk to small fingers.
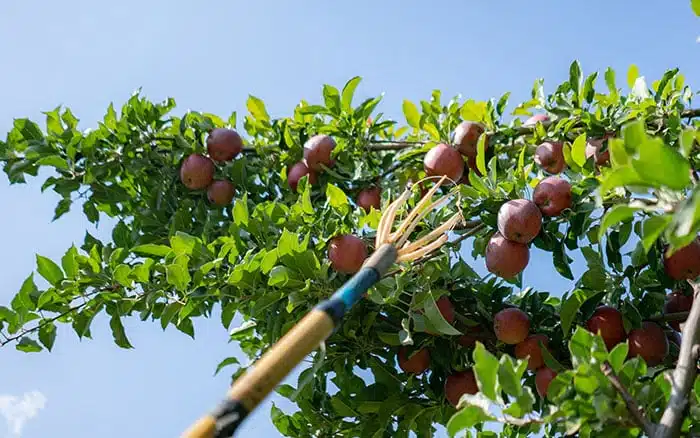
How to make a recycled fruit picker
You can recreate a fruit picker like the one on the right, using a pole and a plastic bottle. Simple as that!
Firstly, take a clean plastic bottle and cut a circle out near the bottom.
Mount it securely onto a cane or a pole, which you then insert through the neck of the bottle.
You can secure it whichever way you see fit, either with staples, nails, or strong adhesive tape. Just ensure it will be able to take the weight of multiple fruits. You don’t want it to fall on your head!
The resulting craft is a very basic fruit-picker which is great for reaching up to get those high-up fruits without spending money that could be better used elsewhere.
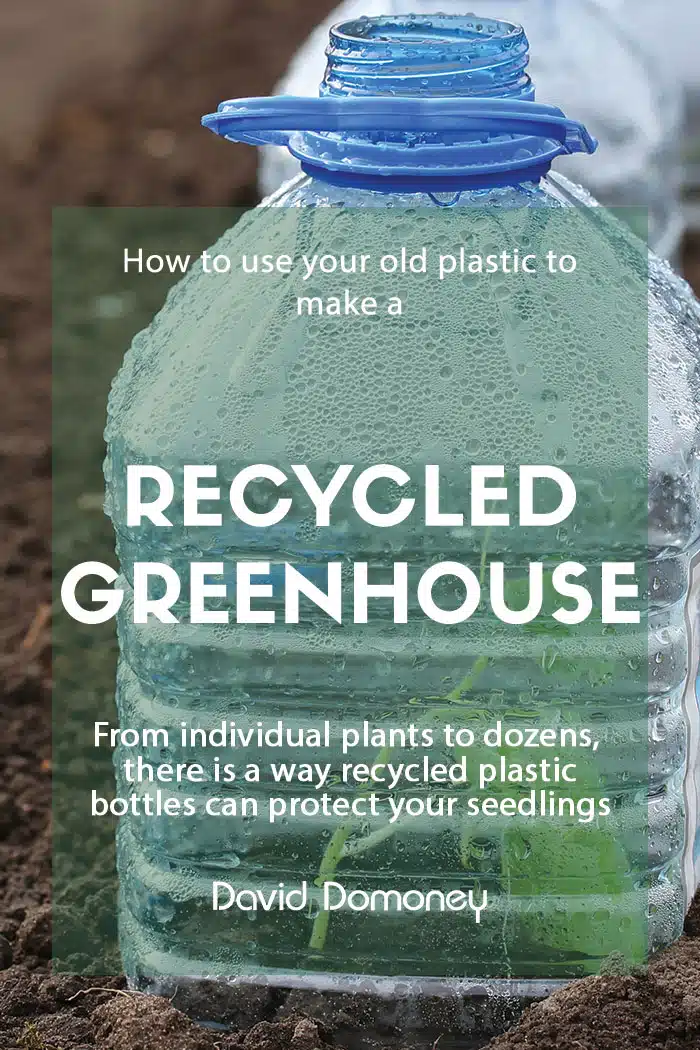
How to make a recycled planter
Grab one of your cleaned plastic bottles of any size.
The larger 5-litre bottles will be great for growing a few seedlings in a group. Or plants that might need a little more underground space whilst getting them started, such as turnips or potatoes.
There are a couple of different ways that you can do this.
The first is by cutting them straight through the middle, horizontally. You can use both the top and bottom halves if you drill or poke drainage holes into the bottom before filling with potting mix.
You could then fasten these to a post, fence, wall, or trellis to make a feature! To make this look even more attractive, whip out the paints and decorate them yourself. You could get your children involved too by getting them in on the decorating.
You could also do this with a milk bottle. Similarly, to the scoop, except for removing the top and the handle, so you should have the base and a little bit of height at the back. Again, poke holes for drainage in the bottom and fill with potting mix. Then fasten again!
How to make recycled seed trays
To make seed trays to get your seedlings started, once again use plastic bottles, or even cleaned plastic yoghurt pots, or a similar container.
Firstly, cut your plastic bottles either horizontally or vertically, depending on what you’re planting and how much room you need.
Next, pierce holes in the bottom of your chosen container for drainage.
Then fill with potting mix, sow your seeds, and then grow your plants!
Plastic bottles may rock a little because they don’t have a flat base if you have to cut them vertically. Use something waterproof to prop it up, as water will be draining out of the bottom.
An ideal option is the punnets that you buy your fruit from the supermarket in. They already have drainage holes in the bottom which saves you a bit of work, plus they can be quite deep. Just pop some potting mix into it and your seeds!
How to make recycled plant labels
You may have had to cut up a few plastic bottles and other containers for any of your planting projects. Therefore, you may have some plastic leftover that you want to find a use for.
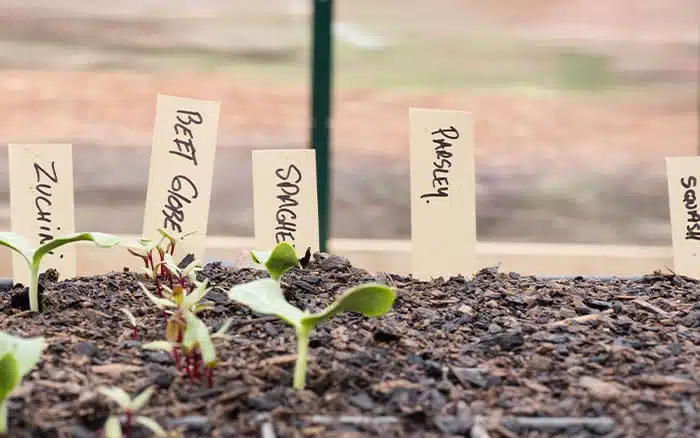
A really quick and easy idea would be to use your leftover plastic and cut them into labels for your plants! This way, you won’t get confused if you can’t remember what you have planted and where. So you can make sure your plants get all the best care that they need.
Cut the plastic into little strips, perhaps with an arrow shape at the end so it pierces the soil more effectively.
Then use a permanent marker pen or a whiteboard pen (depending on if you want to be able to wipe the pen off) to write the plant names down.
And then place them in your planters. Using milk bottle plastic or yoghurt pots, or any opaque plastic is better. Otherwise, if you use clear plastic, you may struggle to read it.
There are so many ways you can use your old, waste plastic in your garden. Do your part to support the environment, and reuse what you can!
Find out more ways to use recycled plastic in your garden by reading the following blogs:
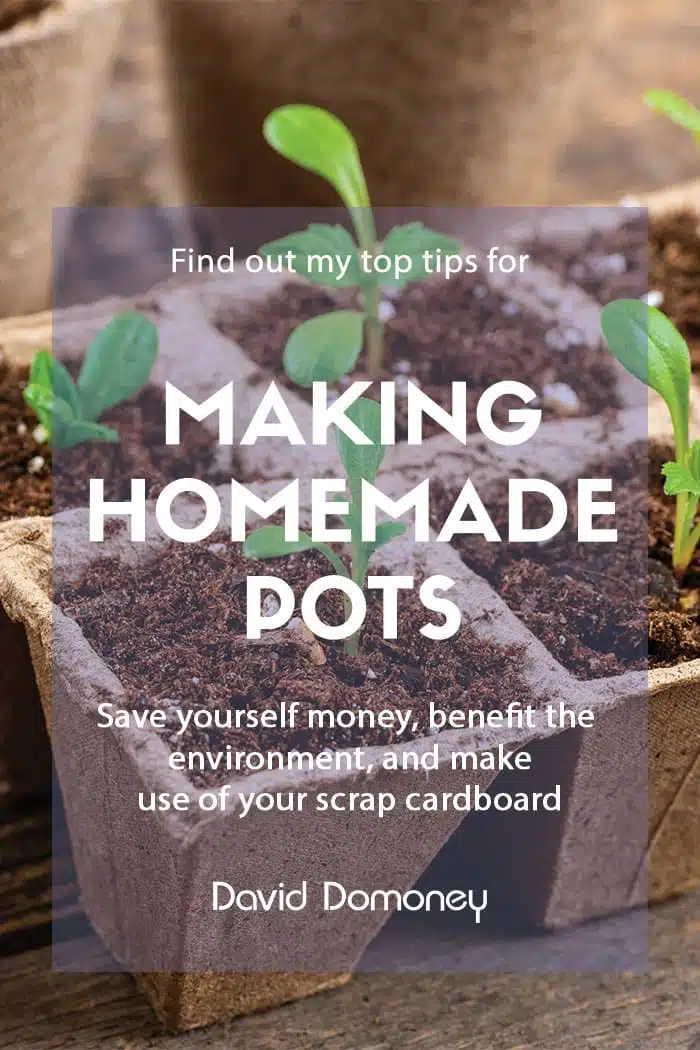
Find out how to make your own homemade pots from other materials you might have at home:
Or check out my Pinterest board for more ideas:


David Domoney is a Chartered Horticulturalist, Broadcaster, and Author. David has worked with a number of the UK’s leading garden retailers as a plant buyer and strategic consultant. With more than 30 years experience, in horticulture, David is as passionate about plants now as he was when he bought his first plant at a village fete.


Leave A Comment