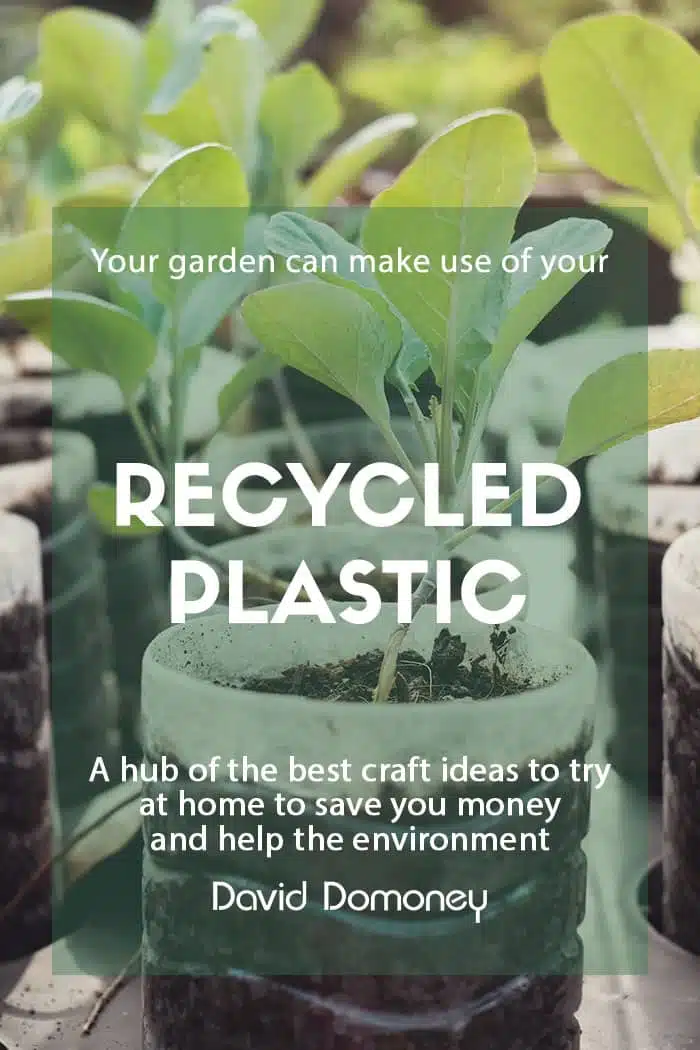
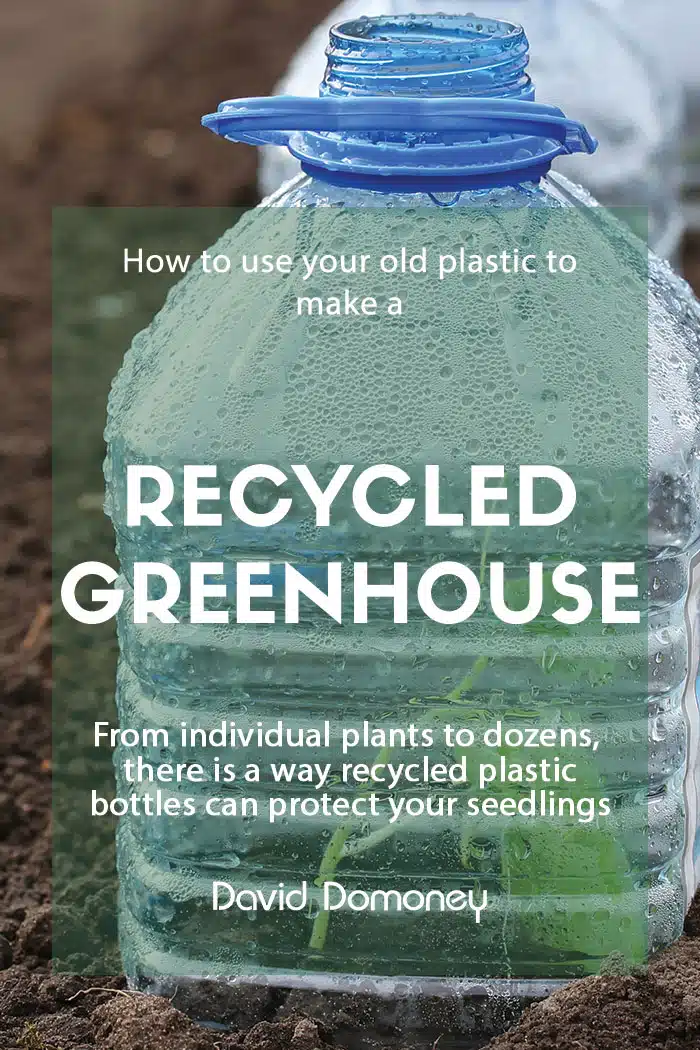
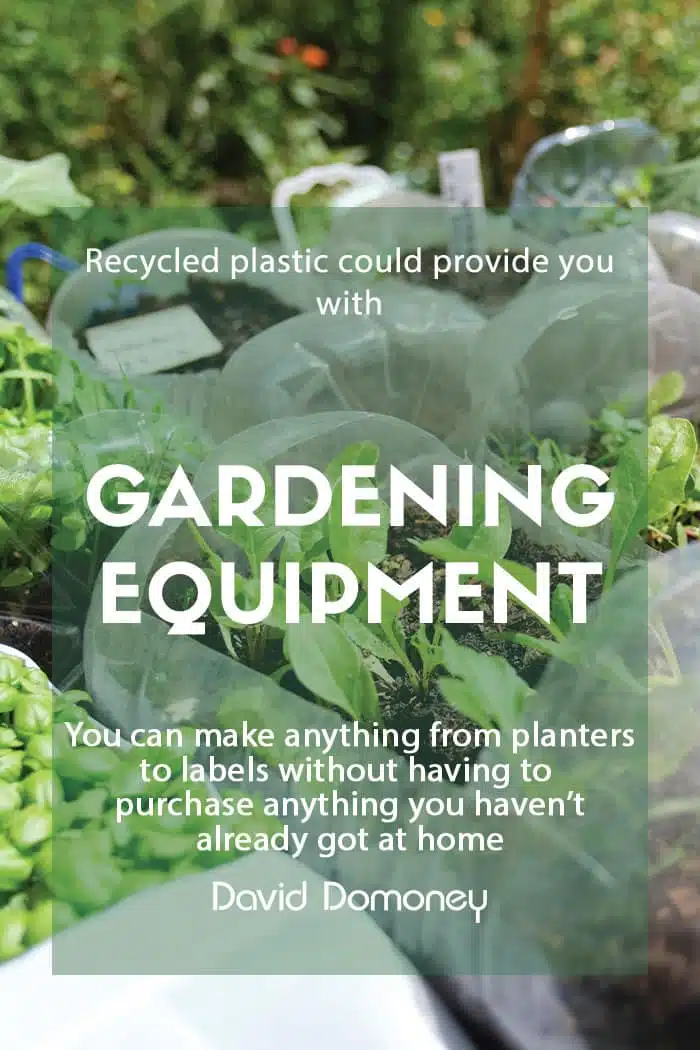
One of the most obvious ways to use plastic bottles in your garden is by taking inspiration from what they did in the first place – holding water! I have listed three ways to do so below, try them out with materials you have at home.
How to make a recycled bottle watering can
You’ve probably noticed that milk bottles have been updated to feature new white lids! Make sure to keep hold of them for this project.
Next, wash your milk bottle out with hot soapy water to eliminate any milk/milky smell that may have been left behind.
Then, lace your bottle lid onto a wooden chopping board or another surface you might use for DIY projects.
And using a sharp tool (not an activity for children), make some small holes in the lid that are spread out. Also, try a smaller tool if you want a finer spray. You could also use an electric drill for this but be careful. I use a bradawl, which is a very sharp pointed tool used for piercing holes.
Whilst you have your sharp tool handy, make a hole in the handle of your milk bottle. This way, air can enter the bottle as water leaves.
Fill the bottle with water, then replace the lid. You now have a fully functioning watering can!
Following this, if you want to get your children involved, maybe leave them with your new watering can and some permanent pens, paint, or stickers! This will guarantee your watering can is unique and gets the kids involved.
Likewise, can do the same thing with a regular plastic bottle; it just won’t have a handle. Despite this, you can squeeze the bottle to alter the pressure at which the water comes out the top.
How to make a recycled drip irrigator
This is a great way to ensure that your soil has a good slow releasing supply of water. In addition, it will also help your plants to develop deep root systems.
Firstly, use a plastic bottle, an old sock and something to make holes with (again, a sharp tool), make 10 to 15 small holes in the bottom half of the plastic bottle.
Next, the plastic bottle inside a sock, or some nylon. This is optional, but it is great for making sure that soil and roots don’t get into the holes you have made in your bottle and clog it up.
Thirdly, plant the bottle in the garden or plant pot, with the neck of the bottle and the lid opening clearly above the soil where you can access it.
I recommend watering the soil well around the plant, and then fill your plastic bottle irrigator with water also.
Finally, to control how much water comes out of the irrigator, tighten, or loosen the cap of the water bottle. This allows more air into the bottle if open, and so more water is released.
How to make a self-watering container
First, cut a plastic bottle horizontally all the way through about two-thirds of the way up. Separate the two halves completely and take the lid off.
Secondly, poke a hole in the lid of the bottle and take a strip of fabric or string with a knot in. Next thread it through the hole in your lid, so there is a wick coming out of the top.
Then, pour some water into the bottom half of your plastic bottle, and then invert the top half and place it inside the bottom half.
You should now have the original base of your bottle containing water, and the original top half upside down inside the base. Also, your ‘wick’ should be dangling into the water.
Next, fill the top half of your bottle with potting mix and plant some seeds or young seedlings in there.
Finally, the wick will pull water up from the reservoir at the bottom. You now have a self-watering container made from things you have found around your home!
By reusing your plastic bottles to water your plants, you’re saving yourself money, and you’re helping the planet! Don’t let it go to landfill and save a few pounds here and there!
To learn some new ways to utilise plastic in your garden, see the blogs below:
Learn my top tips for watering your plants:

Or check out my Pinterest board for more ideas:


David Domoney is a Chartered Horticulturalist, Broadcaster, and Author. David has worked with a number of the UK’s leading garden retailers as a plant buyer and strategic consultant. With more than 30 years experience, in horticulture, David is as passionate about plants now as he was when he bought his first plant at a village fete.


Leave A Comment